
PREP IT RIGHT. PRICE IT SMART. SELL MORE.
A little prep goes a long way. Clean, well-presented items with clear tags and realistic prices are more likely to sell — and make drop-off much easier, too.
START WITH YOUR BEST ITEMS
Before you start tagging, take a good look at what you’re bringing. Choose current, gently loved pieces in great condition that you’d be excited to buy yourself.
Not sure whether something is accepted? Check our What to Sell guidelines before spending time prepping and tagging it.
GET YOUR ITEMS SALE-READY
Items sell best when they look their best. Before tagging:
- Wash and clean clothing as needed.
- Iron or steam wrinkled items.
- Hang dresses, jackets, shirts and tops on appropriately sized hangers.
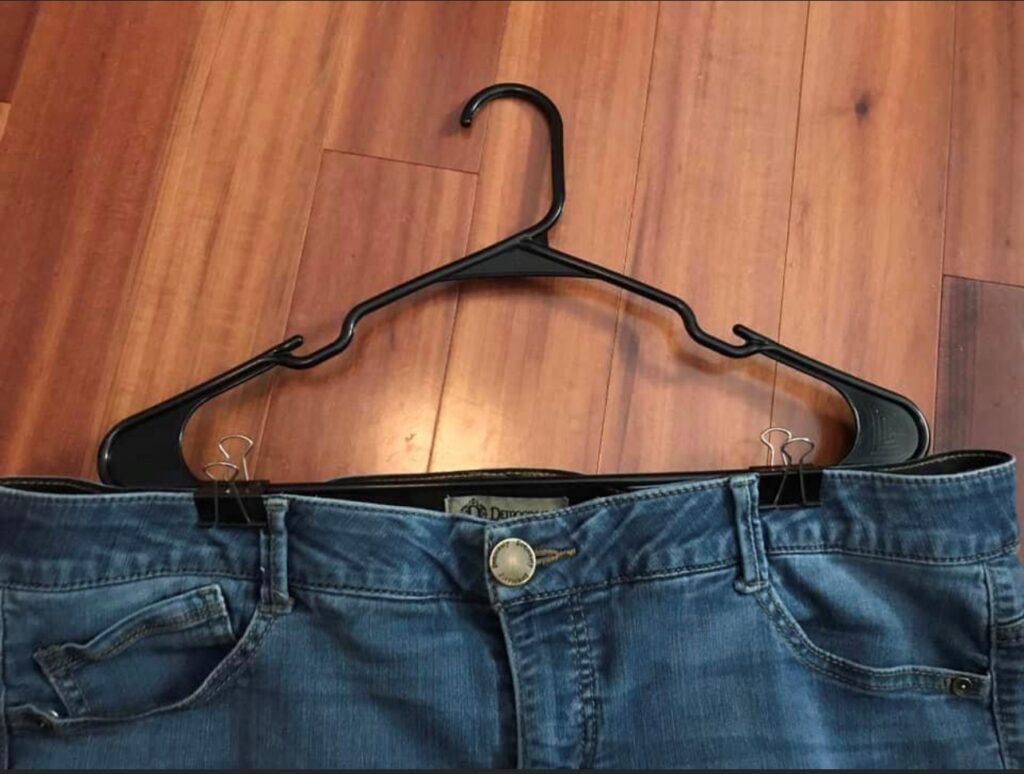
- Hang pants, skirts and shorts by the waistband using pant hangers or clips.
- Do not fold pants over a hanger.
- Please do not use wire hangers.
- Use rubber bands or hanger grips if needed to keep clothing from slipping.
GATHER YOUR SUPPLIES
Before you begin, you’ll want:
- White or light cream cardstock for printed tags — no thin copy paper or colored cardstock.
- Tagging gun + fasteners — our preferred method for attaching clothing tags.
- Appropriate hangers for each type of clothing.
- Zip ties and/or painter’s tape for shoes and décor. Avoid packing tape, which can damage items.
- Ziploc bags, if needed, for jewelry or small items.
A tagging gun is worth it! They’re inexpensive, make prepping much faster and help tags stay securely attached throughout the sale.
PRICE TO SELL
You set your own prices, and pricing can make a big difference in what sells. Think like a shopper: consider the item’s brand, condition, age, current style and original retail price — then choose a price that feels like a great secondhand find.
- Start around 40–60% of retail as a general guideline, adjusting for brand, condition and demand.
- Be realistic about designer labels. A higher original price doesn’t always mean a higher resale value — shoppers are still looking for a great deal.
- Price similar items competitively. If shoppers see several pairs of similar jeans, price can be the deciding factor.
- Presentation matters. Clean, pressed clothing displayed neatly tends to sell better than wrinkled or poorly hung pieces.
- Ask yourself:Would I happily pay this price for this item secondhand?
GIVE IT A SECOND CHANCE AT HALF PRICE
You can choose to have your unsold items discounted to 50% off during our half-price sale. Allowing the discount can give items one more chance to sell before the sale ends.
DONATE OR PICK UP?
When entering each item, you’ll also choose whether you want it donated if it doesn’t sell or returned to you at pick-up. Donating unsold items saves you from taking them home and gives them another opportunity to benefit someone in the community.
HOW TO TAG
Good tagging helps your items stay organized, easy to identify and ready to sell. Once you’ve entered your items in the online system and printed your tags, follow these guidelines to attach them securely.
DESCRIBE YOUR ITEMS CLEARLY
When entering an item, include enough detail that we could identify it if the tag became separated. Include the brand, color, item type and a distinguishing detail when possible.
Instead of: Jeans
Try: Dark blue Levi’s 550 straight-leg jeans
A good description makes it much easier for us to reunite a lost tag with its item.
PRINTING YOUR TAGS
Print tags on white or light cream cardstock — not regular copy paper or colored cardstock.
Make sure the barcode prints clearly and is not cut off or distorted.
Standard copy paper rips easily and gets separated from the items, causing your items to be unsellable. Darker cardstock and distorted barcodes cannot be scanned by our register scanners.
Using paper or non-light cardstock or having cut off or distorted tags may result in your items being rejected at inspection.
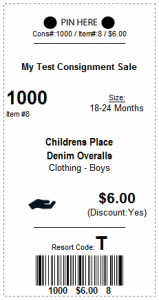
ATTACHING TAGS
A tagging gun is strongly recommended and is the easiest way to securely attach tags to clothing. Tagging guns and fasteners are inexpensive and can be found online or at some office and retail stores.
If you use safety pins, please use large, sturdy safety pins. Small pins can easily open or become separated from items during the sale.
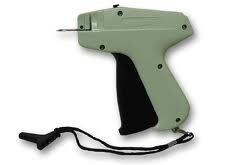
CLOTHING
Attach the tag with a tagging gun through an inside seam or garment tag whenever possible. If there is no tag, place it through an inconspicuous seam.
Please do not put tagging-gun fasteners directly through visible fabric, as they can leave a hole.
PANTS & JEANS
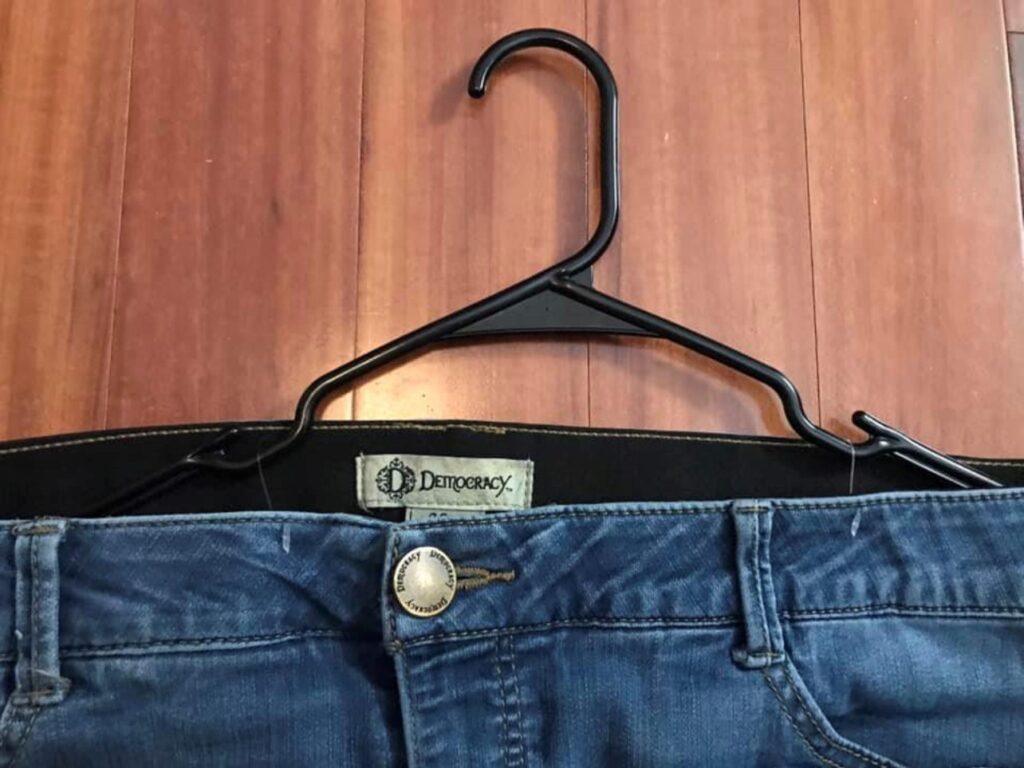
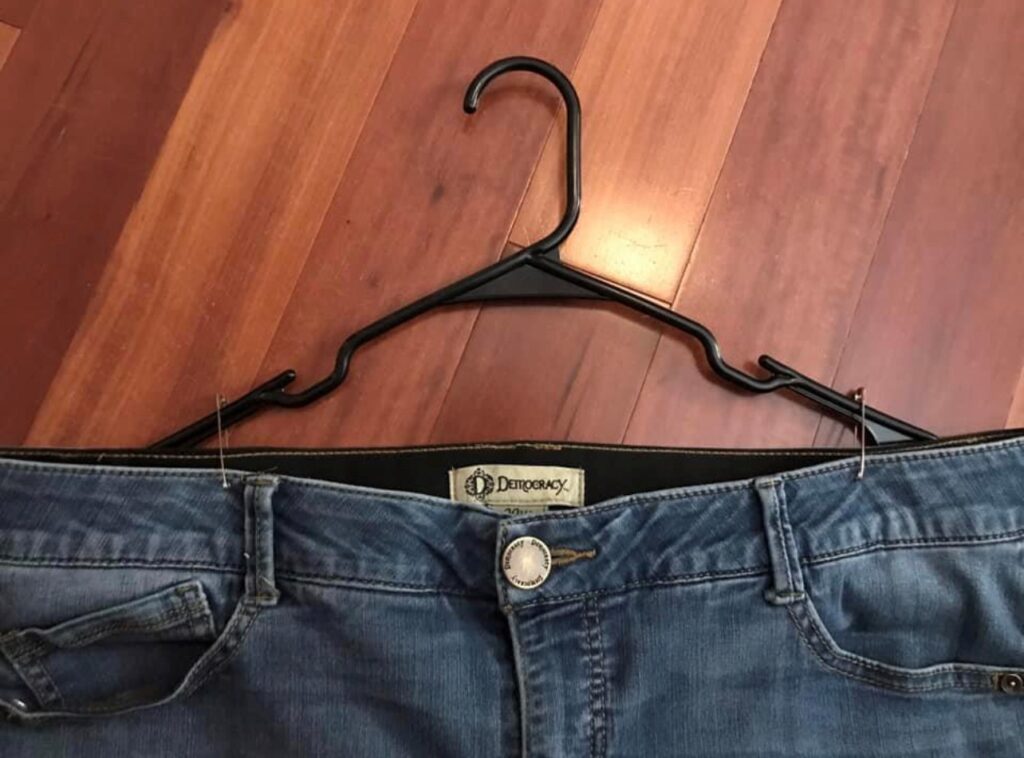
Pants must be hung by the waistband — never folded over a hanger. Use a pants hanger with clips, binder clips or another secure method that keeps the pants displayed full-length.
Attach the price tag securely near the waistband.
SHOES
Keep pairs securely together using a zip tie, string or another secure method. Attach the tag to the pair where it can be easily seen without damaging the shoes.
Please don’t use tape directly on shoes where it could leave residue or damage the material.
JEWELRY
Whenever possible, attach jewelry to a card or display so shoppers can easily see it. Place the price tag securely on the display or item.
Jewelry displayed neatly and visibly is much more likely to catch a shopper’s attention than jewelry placed loose in a bag.
OTHER ITEMS
Securely attach the tag using a tagging gun, string, zip tie or painter’s tape — whichever method works best without damaging the item.
Using safety pins?
Items tagged with safety pins cannot be donated and must be picked up if they don’t sell. If you want your unsold items donated, use a tagging gun or another approved tagging method.
Not sure what you can bring or how many items you can sell? See our What to Sell page.